Robot Petting Zoo
Subjects
Science, Maker, Language Arts, Art & Music
Project Type
Creatures & Characters
Required Tutorials
Position servo, Rotation servo, Single color LED, Tri-color LED, & Sensors
Estimated Time
Long (6+ hours)
Description
Build a robotic animal that responds to its environment and inspires and delights visitors to the robot petting zoo.
Project Map
Learning Goals
Students will build a robotic animal that responds to its environment.
Materials
- Hummingbird Bit Premium Kit
- Possible Craft supplies
Tips
- Have students work in groups of 2-3.
- Our Printables page has a variety of documents for making teaching and learning with Hummingbird easier. Visit and explore resources like the My First Robot Design Notebook now.
Steps
 Check out our Robot Petting Zoo Mini-Course!

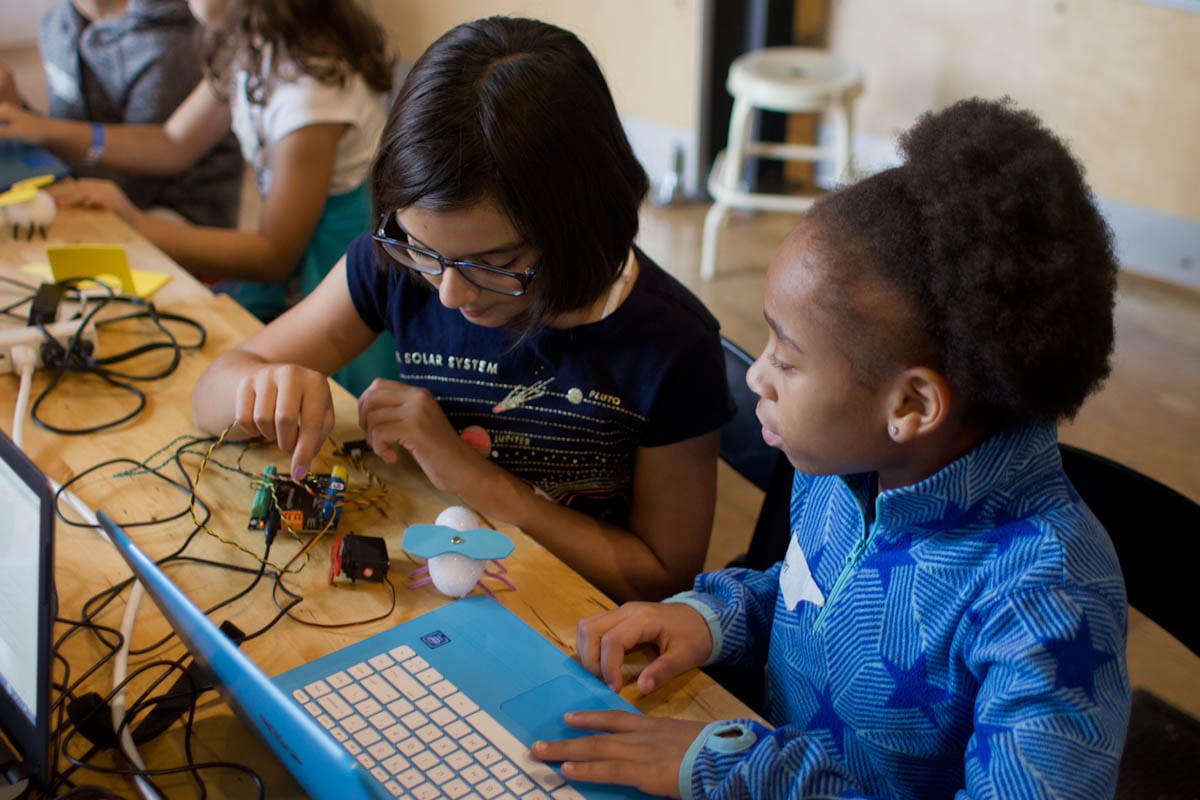
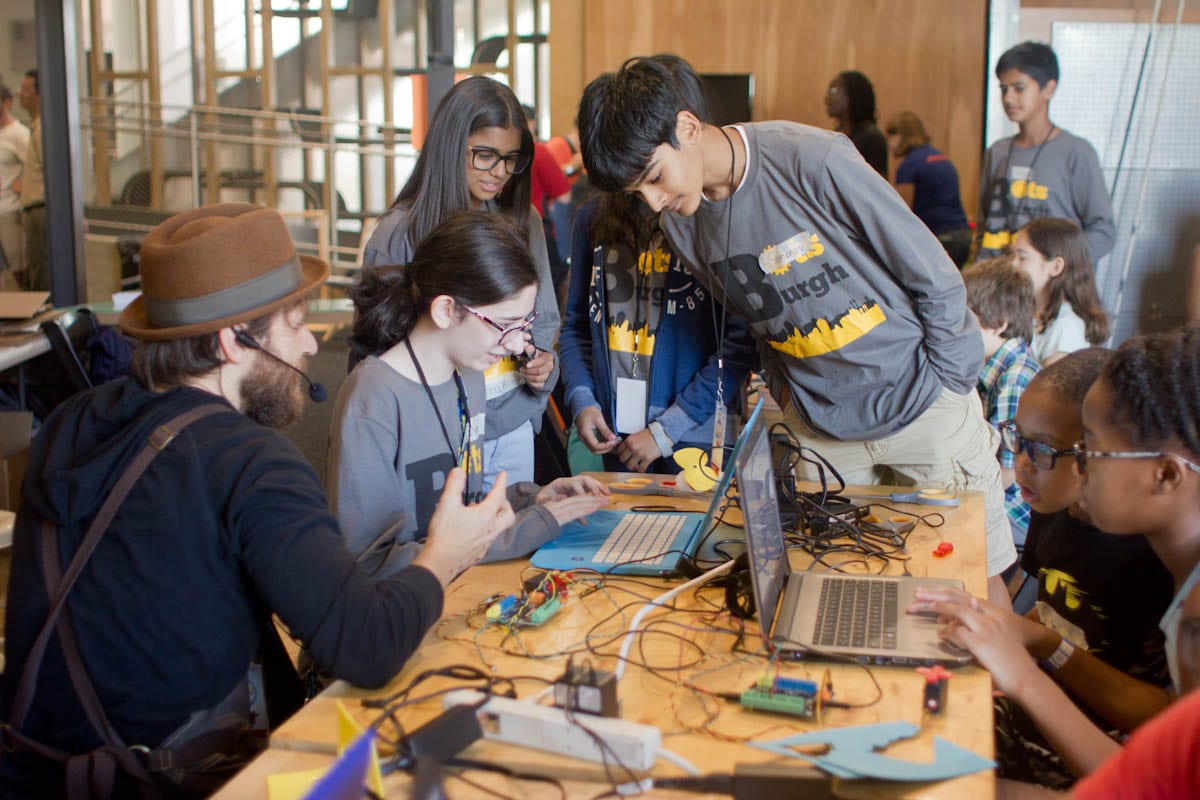
The Robot Petting Zoo (RPZ) engages middle and high school students in a fun, approachable design challenge. Youth participate in a “makeathon” to create a robotic pet to delight and inspire visitors to the petting zoo. They construct their pets from familiar materials such as cardboard and craft supplies and use robotic components and programming to bring their creations to life.
The RPZ was pioneered at the Lawrence Hall of Science to broaden participation in making and computer science. As an open-ended, creative activity with an authentic audience, the RPZ and makeathon appeal to a broad range of students, hopefully encouraging more women and underrepresented minorities to explore robotics.
A general outline for an RPZ is included below. You can plan an RPZ for any time frame, but planning for at least 10-15 hours will give students time to create robots that they are proud to show to their community.
- Introduction: Very briefly, introduce participants to the goals of the robot petting zoo. It may be helpful to use videos from this playlist to show students the types of things that are possible. This is also a good time to show students the Hummingbird components and describe how they can be used to create robots that sense, think, and act.
- Learning to Build: Jumping right into a building activity capitalizes on student enthusiasm and enables them to immediately take ownership of the activity. This can also give students a chance to practice their skills in a low-stakes way before beginning work on their final robot. Possibilities for this step include the following:
- Build a moving mouth and customize it to make a practice pet.
- Use the Hardware Guide to describe the parts of the Hummingbird kit. Have students quickly prototype their planned animal in cardboard, placing pictures of the components where they want them to go, using our Prototyping Guide.
- Programming Exercises: You can use any language with Hummingbird support, but for beginners, we recommend Scratch (on computers or Chromebooks) or BirdBlox (on tablets).
- Planning: Have students sketch their animal and create a plan to build and program it. The Hummingbird Robotics Design Notebook may be helpful. This is also a good time to show students how different mechanisms can be used with the Hummingbird motors; these videos may be helpful.

- Robot Making Time! Give students ample time to build and program their robots. This should be roughly half of the total makeathon time.
- Community Display: Open your robot petting zoo to inspire and delight your community! If you want, you can have visitors vote on fun categories like “Cutest Pet,” “Silliest Pet,” etc.
Standards Alignment
COMPUTER SCIENCE TEACHERS’ ASSOCIATION (CSTA)
CSTA Standards are split into different grade levels: 3-5, 6-8, and 9-10. Working with the Hummingbird Robotics Kit meets multiple standards across these grade-level delegations.
Visit this page for a more detailed explanation of how working with the Hummingbird Robotics Kit applies to meeting CSTA Standards.


