
Register to receive free access to all teacher materials.

l Projects
Programming Language
Snap!
Subjects
Programming Tutorials
Grades
4-5, 6-8
Free Teacher Materials
Objective & Learning Goals
- Turn on and off LEDs
- Use the wait block to time events
Hummingbird setup
- Connect the green, yellow, and red LEDs to ports 1, 2, and 3, respectively.
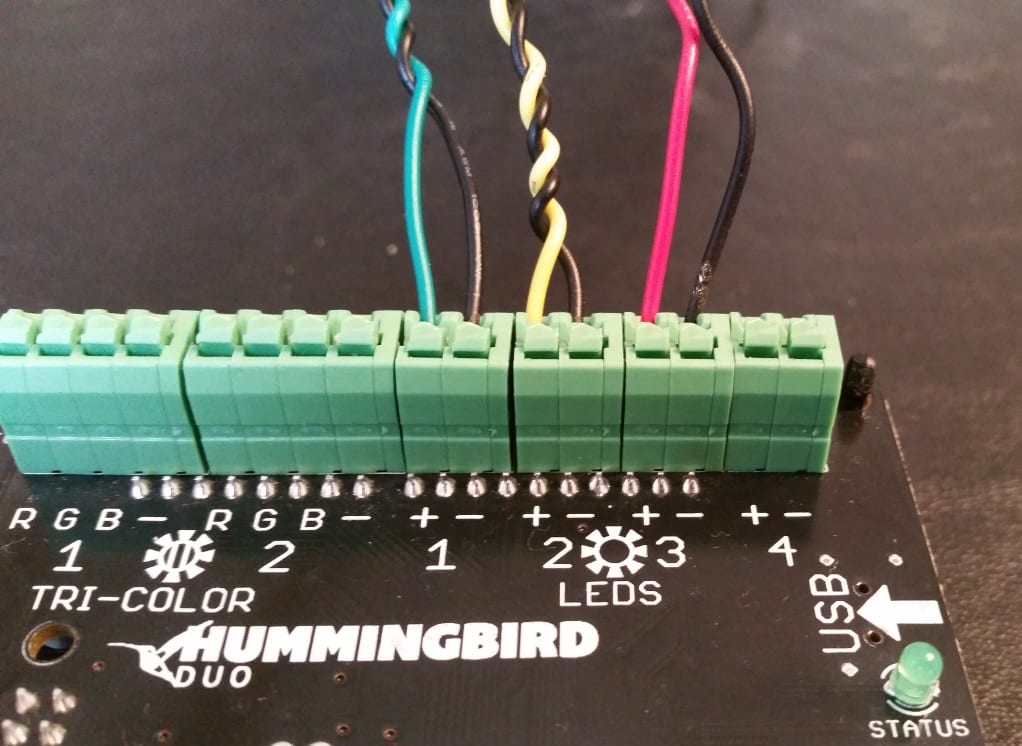
- Connect the Hummingbird to your computer to begin programming.
Programming steps
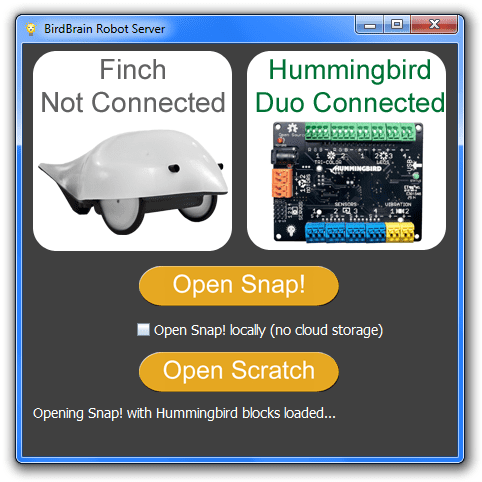
- Open the BirdBrain Robot Server.
- Wait for the screen to say “Hummingbird Duo Connected”.
- Click “Open Snap!”.
- Delete any blocks in the middle of the screen by right-clicking them and selecting “delete”.
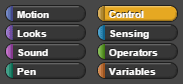
- First we need a “trigger” to indicate when our program should run. Select the “Control” category.
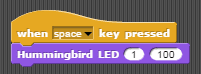
- Drag a “When space key pressed” block into the middle of the screen to make the program begin when the space key is pressed.

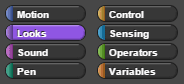
- Now we are ready to add the blocks that control the Hummingbird’s LEDs. Select the “Looks” category and notice the two Hummingbird blocks at the bottom of the list.
We want our traffic light to go from green to yellow to red and then back to green. First we need to turn on the green light (port 1). - Attach a “Hummingbird LED” block to the “When space key pressed” block.
- We want the LED to be at its maximum power, which is 100. Click the 50 and type 100.Your screen should look like this:
- You can test a block by clicking on it. Click on the LED block and the green light should turn on.That turns the green light on. Now we need to turn it back off.
- Right-click (or ctrl-click) the LED block and click “duplicate”.
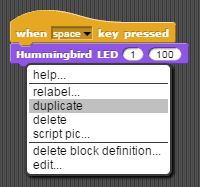
- Attach the new LED block to the end of the original one and change the intensity to 0.But we don’t want the light to turn off immediately. We want to leave the green light on for some time.
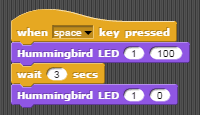
- Select the “Control” category and drag a “wait 1 secs” in-between the two LED blocks.
- Set the delay to 3 seconds.
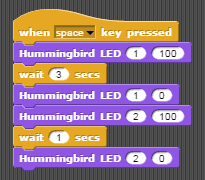
- Duplicate the stack of three blocks by right-clicking the first LED block and selecting “duplicate”.
- Attach the new blocks to the end of the stack.Your code should now look like this:

- Now let’s change the second two LED blocks to affect the yellow LED. Click the 1 after “LED” and change the port number to port 2 on the bottom two LED blocks.
- The yellow light should be on for a shorter time than the green light. Change the delay to 1 second.
- Now duplicate the blocks again and set them to the red LED (port 3).
- Set the delay to 2 seconds.The program is now almost complete:
- We want the program to repeat forever. Attach a forever loop (from the “Control” category) below the key pressed block. Then drag the remaining blocks into the loop.
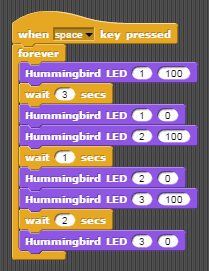
- Now run the program by pressing your space bar. The light should go from green to yellow to red. To stop the program, click the red stop sign.
- To save your program, click the file icon and select “Save As”. Then save the file to your browser.