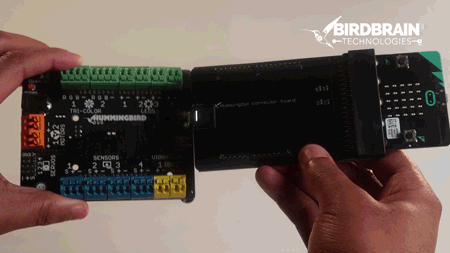
First, use this tutorial to switch your Hummingbird into micro:bit mode.
**You must have a micro:bit and micro:bit adapter to use your Hummingbird Duo with MakeCode. Purchase it here.**
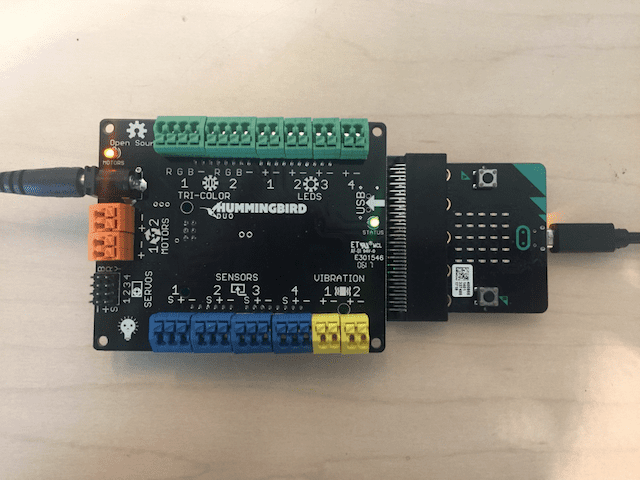
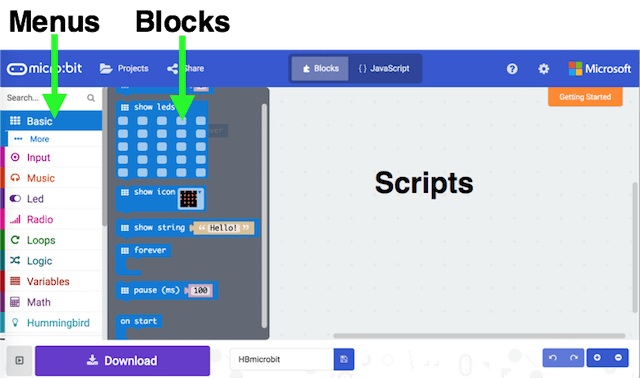
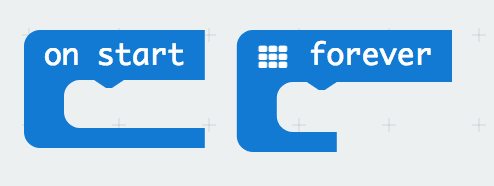
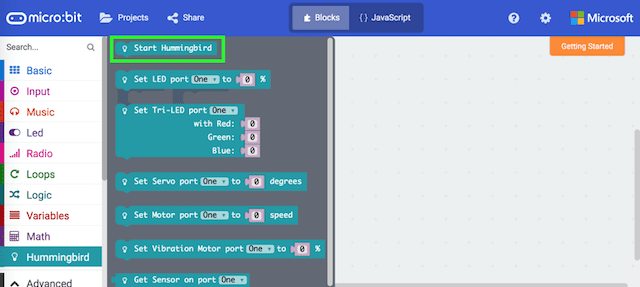
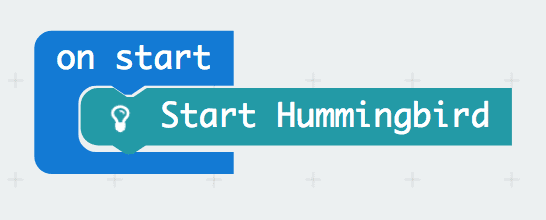
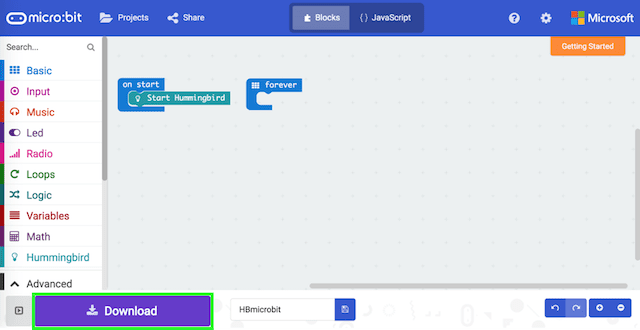
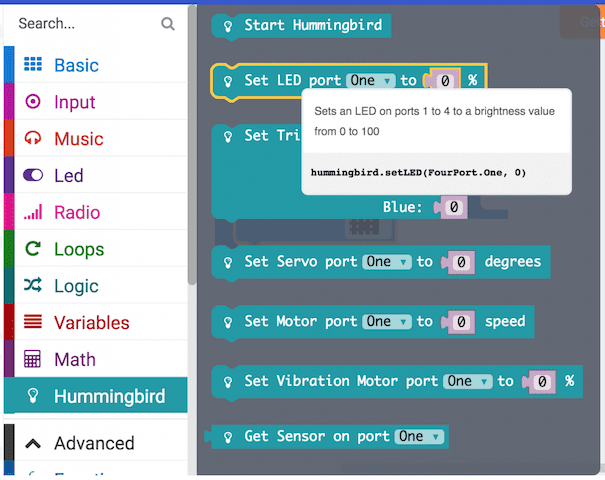
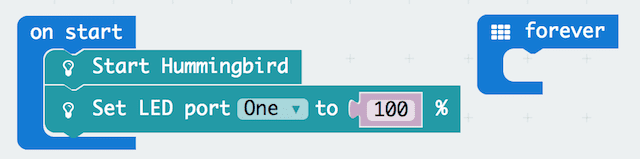
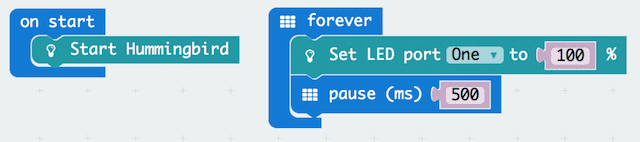
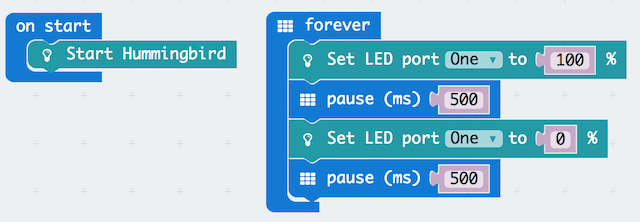
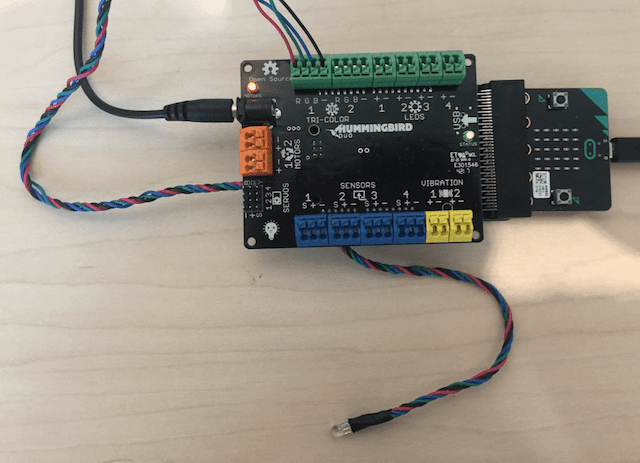
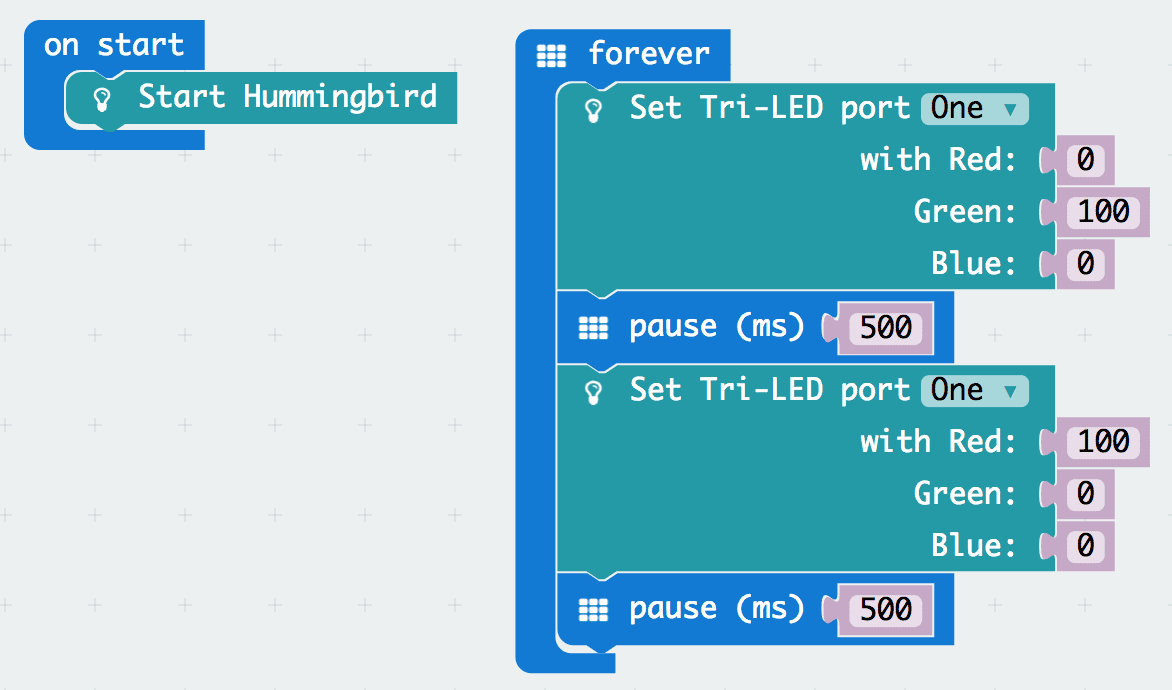
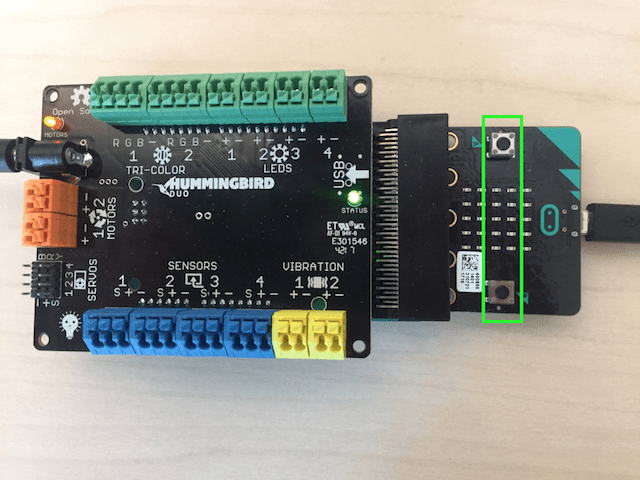
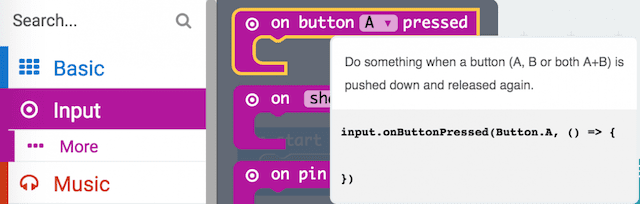
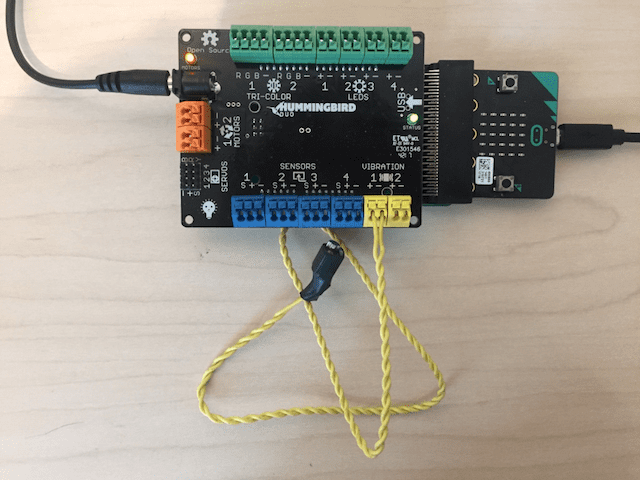
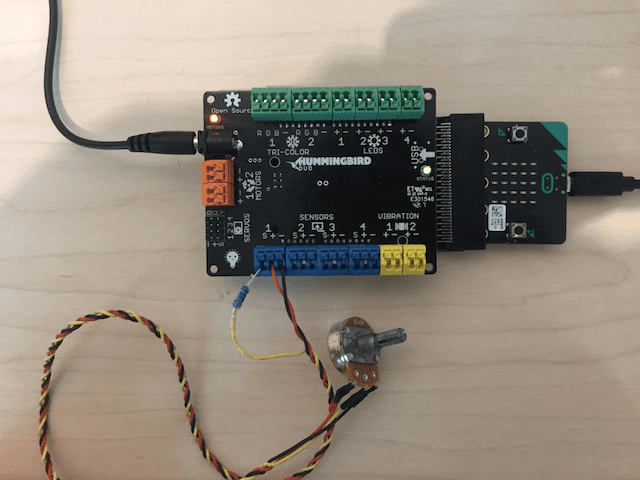
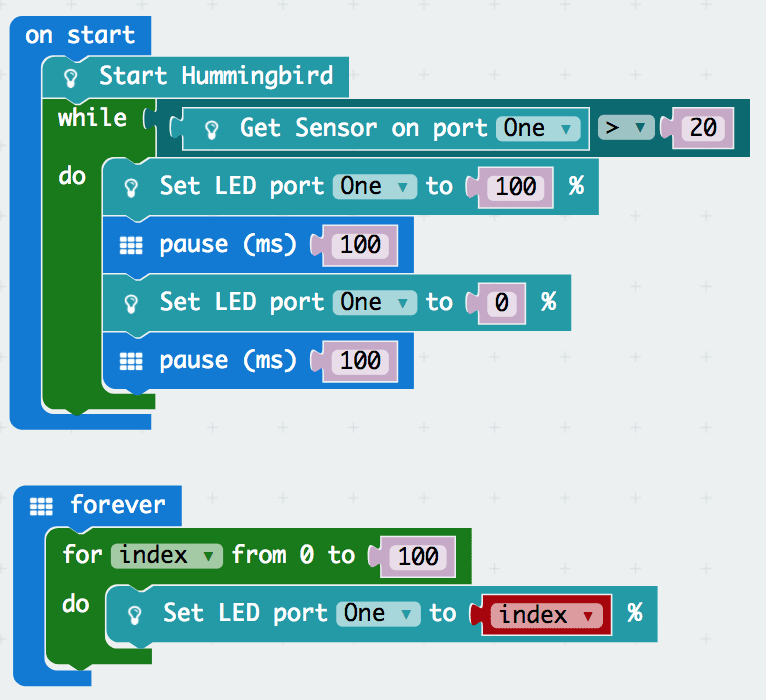
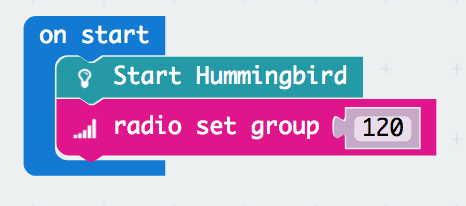
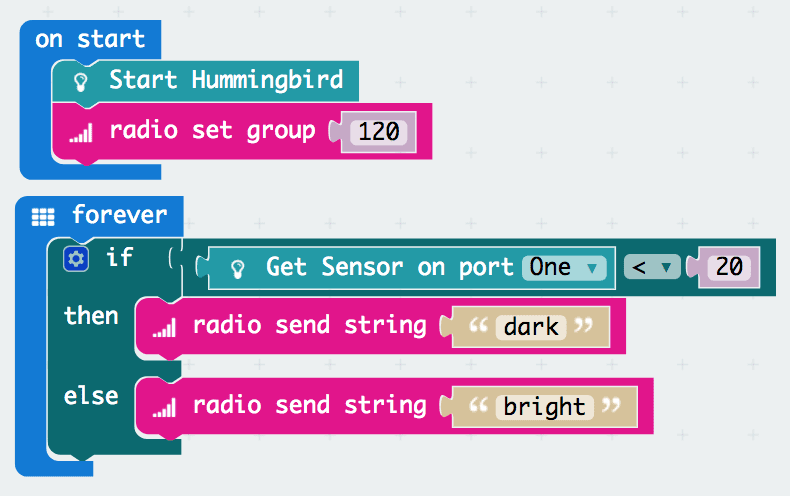
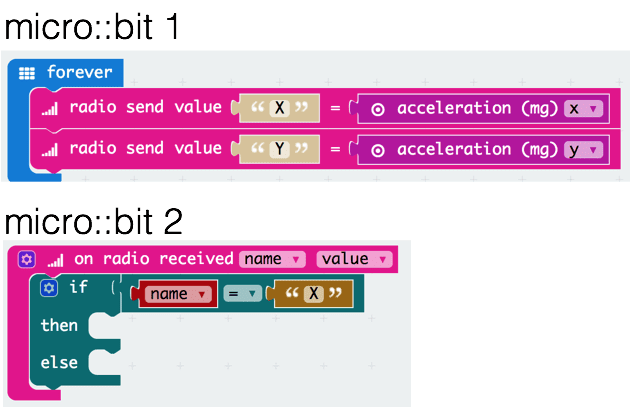
Now you can use the micro:bit to control your Hummingbird! You can write programs in the block-based MakeCode environment and then download them onto the micro:bit. Then you can disconnect the robot from the computer but keep running your program! To use the Hummingbird with micro:bit, you will need a Hummingbird micro:bit adapter. Because it is browser-based, MakeCode is compatible with Windows, Mac, Linux, and Chromebooks.