Lesson 10 – micro:bit Buttons and Accelerometer

Hummingbird Components

1 Tri-Color LED, 1 Position Servo

Python Concepts

If-elif-else statements, equality operator

Teacher Materials

Get Access

So far, you have used all of the Hummingbird sensors. The micro:bit also contains sensors, which you will learn to use in this lesson and the next. This lesson will cover how to use the buttons on the micro:bit and the micro:bit accelerometer.

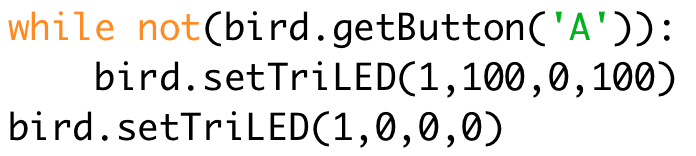
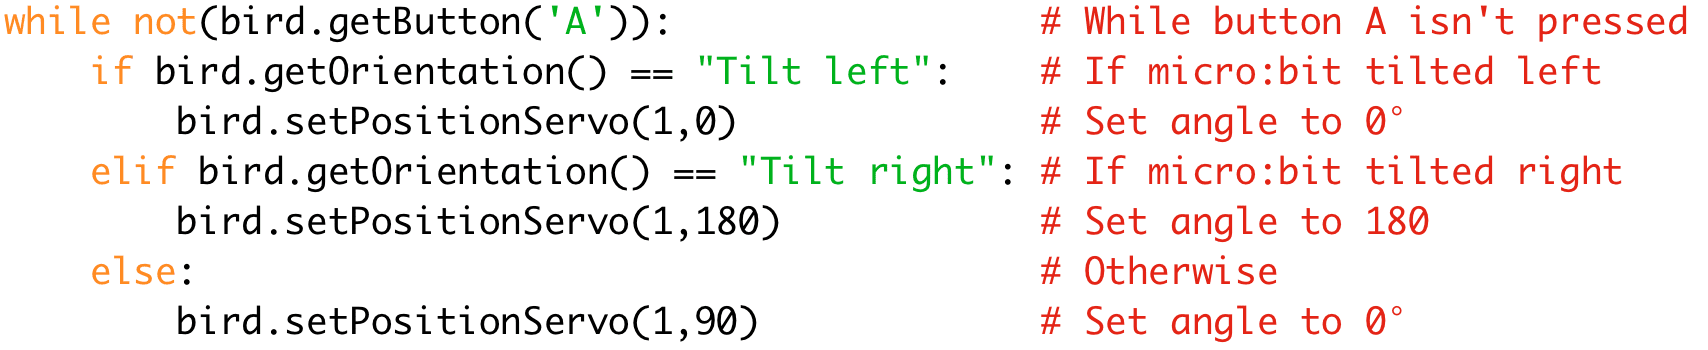
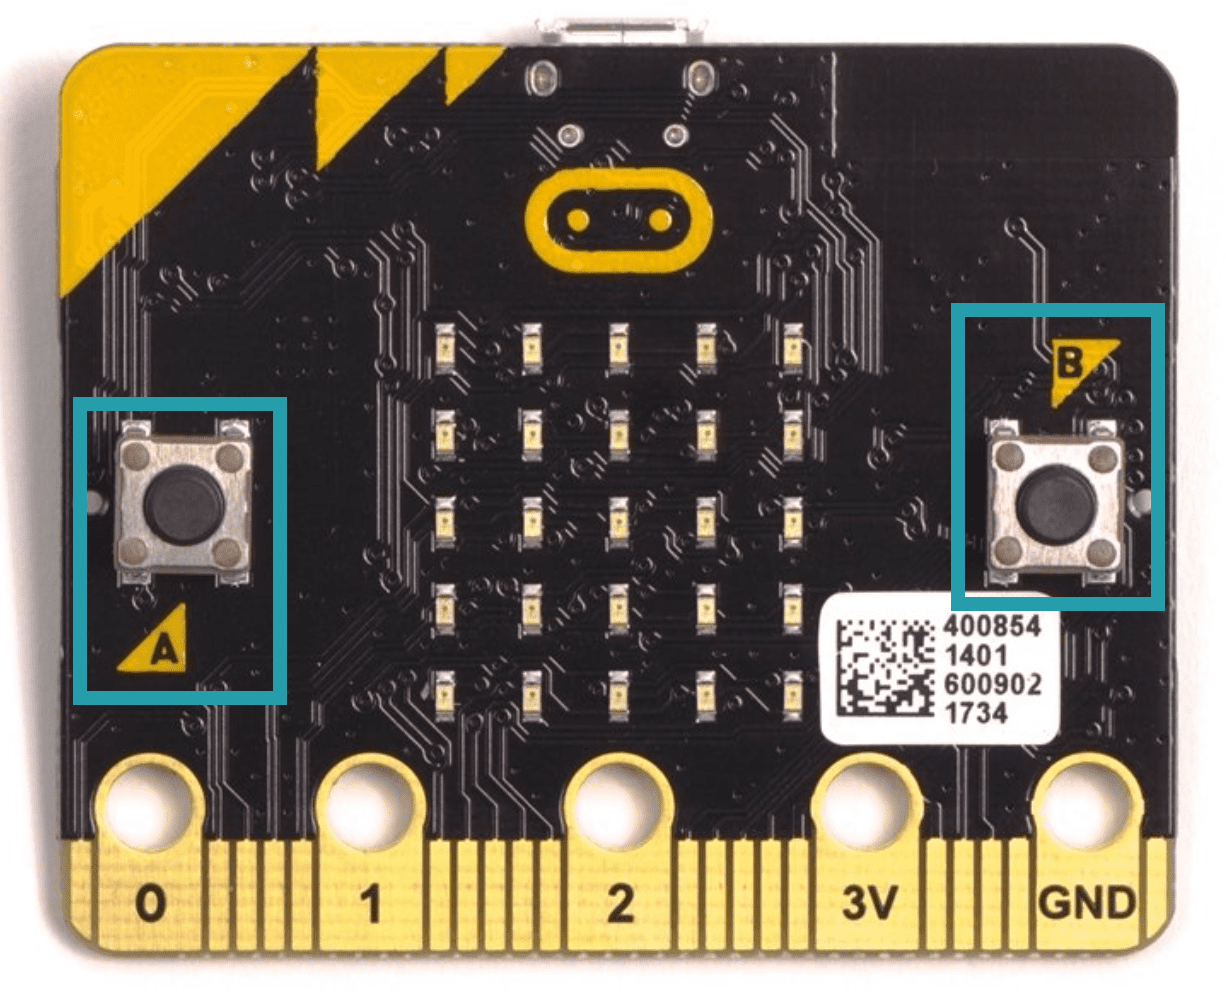
The micro:bit has two buttons labeled ‘A’ and ‘B.’ Use the getButton() method to find out whether a button is being pressed. The getButton() method takes one parameter, a string equal to ‘A’ or ‘B’ that tells the program which button you are interested in. The method returns a Boolean value. It returns True when the button is being pressed and False otherwise.

For example, this code sets the tri-color LED to purple as long as button A is pressed. When the button is released, the tri-color LED turns off.

Exercise 1

The not operator in Python inverts a Boolean value – if the value is False, not changes it to True, and vice versa. What do you think this code will do? Make a hypothesis, and then try it out.

Exercise 2

Write a program that uses button A to turn a tri-color LED – if button A is pressed, the LED should be on. Otherwise, the LED should be off. The program should run until button B is pressed.

micro:bit V2 Extra Challenge

If your Hummingbird contains a micro:bit V2, you also have a third button! A micro:bit V2 has a gold micro:bit logo, and this logo is a button that senses when you touch it. getButton(“Logo”) will return the value of this button. If you don’t have a micro:bit V2 in your Finch, you will see an error when you use getButton(“Logo”).

Write a program that uses the logo button to move a position servo. When the logo is pressed, the servo should move to 180°. Otherwise, the servo should be at 0°. This program should run until button B is pressed.

The micro:bit contains an accelerometer. This sensor can be used to measure the orientation of the micro:bit. For example, you can detect when the micro:bit is upside down. The micro:bit accelerometer is very similar to the accelerometer that enables a smartphone or tablet to change the screen from portrait to landscape when the user turns the device.

Use the getOrientation() method to find the position of the micro:bit. This method does not require any parameters. It returns a string that represents the orientation of the micro:bit. The possible values are “Screen up”, “Screen down”, “Tilt left”, “Tilt right”, “Logo up”, “Logo down”, and “In between”. “In between” is any orientation that is not one of the other six positions.

For example, this code checks whether the orientation of the micro:bit is equal to “Tilt left.” If this is true, then the servo moves to 0°. Otherwise, it moves to 90°. Notice that to check whether two things are equal, you must use the == operator. This is because a single equals sign is used to set a variable equal to a value.

Exercise 3

Try out this code. Then modify it so that the servo moves to 180° when the micro:bit is tilted right and 90° when the micro:bit is tilted any other way.

When using the accelerometer, you often want to make your robot respond to multiple orientations of the accelerometer. In this case, you need an if-elif-else statement. The if-elif-else statement checks multiple Boolean expressions. For example, in this code, the first if checks whether the micro:bit is tilted to the left. If it is, the servo moves to 0°. If it isn’t, then the program checks whether the micro:bit is tilted to the right. If it is, the servo moves to 180°. If the micro:bit isn’t tilted to the right or the left, the servo moves to 90°. You can add as many elifs as you want to check different Boolean expressions!

Exercise 4

Try out this code. Then modify it to move to a fourth angle when the micro:bit is tilted to the “Logo down” position.

Exercise 5

Use an if-elif-else statement to play different notes as you move the micro:bit to different orientations. How many different notes can you play?

Exercise 6

Modify your program from Exercise 5 so that as the Bit plays each note, it also moves to a different angle and turns a tri-color LED to a different color. Be sure to save this code! You will need it in Lesson 12.

Extra Challenge

The accelerometer in the micro:bit measures acceleration in three directions. These three values are used by the getOrientation() method to determine how the micro:bit is tilted, but you can also use the acceleration values directly. The getAcceleration() method returns a list of three numbers that contains the acceleration in meters per second squared in the x, y, and z directions. You can access the individual numbers in this list as accelList[0], accelList[1], and accelList[2]. Each value is between roughly -10 and 10. Write a program that uses these three values to set the red, green, and blue intensities for a tri-color LED. Since the acceleration values can be negative, you may find the Python abs() function helpful. This function takes a number and returns the absolute value of that number.

micro:bit V2 Extra Challenge

If your Hummingbird contains a micro:bit V2, you can also use a temperature sensor in the micro:bit to measure the temperature around the Hummingbird in degrees Celsius. The getTemperature() method returns the value of this sensor. Room temperature is about 20°C. If you don’t have a micro:bit V2 in your Hummingbird, you will see an error when you use this method.

Write a program that uses the buzzer to tell you when the Hummingbird is too hot, too cold, or just right.

Back to Top