Design Thinking and Robotics
Subjects
Science, Maker
Project Type
Engineering & Inventions
Required Tutorials
Position servo, Rotation servo, Single color LED, & Tri-color LED
Estimated Time
Long (6+ hours)
Description
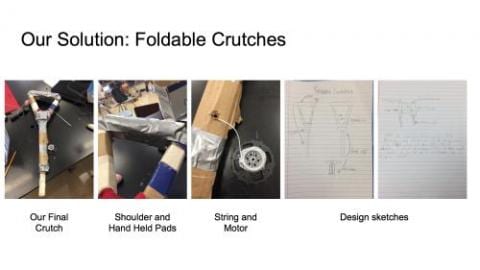
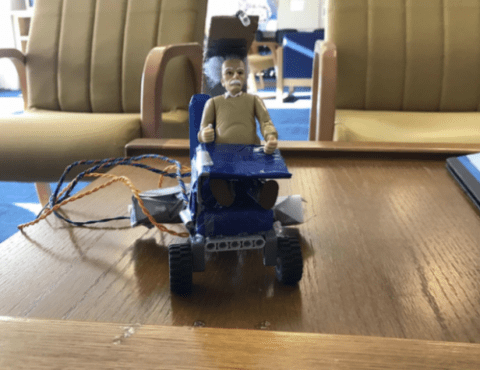
Design and create a robot to help somebody with cerebral palsy.
Free Teacher Materials
Teacher Credit
Kim Wilkens and Tom Weis of St. Anne's-Belfield School
Project Map
Learning Goals
The students will develop the skills of collaboration, cooperation, problem-solving, and empathy while they research and work to create devices that can assist a student who has cerebral palsy. They will use these skills to help in solving a real-world problem. They will also develop speaking and listening skills as they present their final projects.
Materials
- Hummingbird Bit Premium Kit
- Possible Craft supplies
Tips
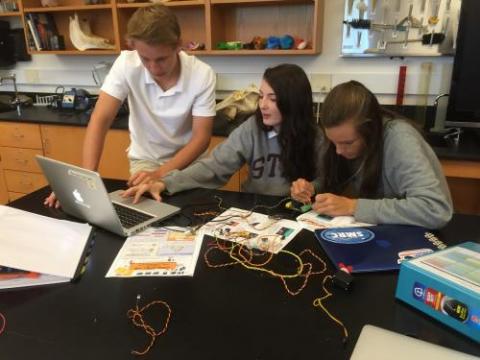
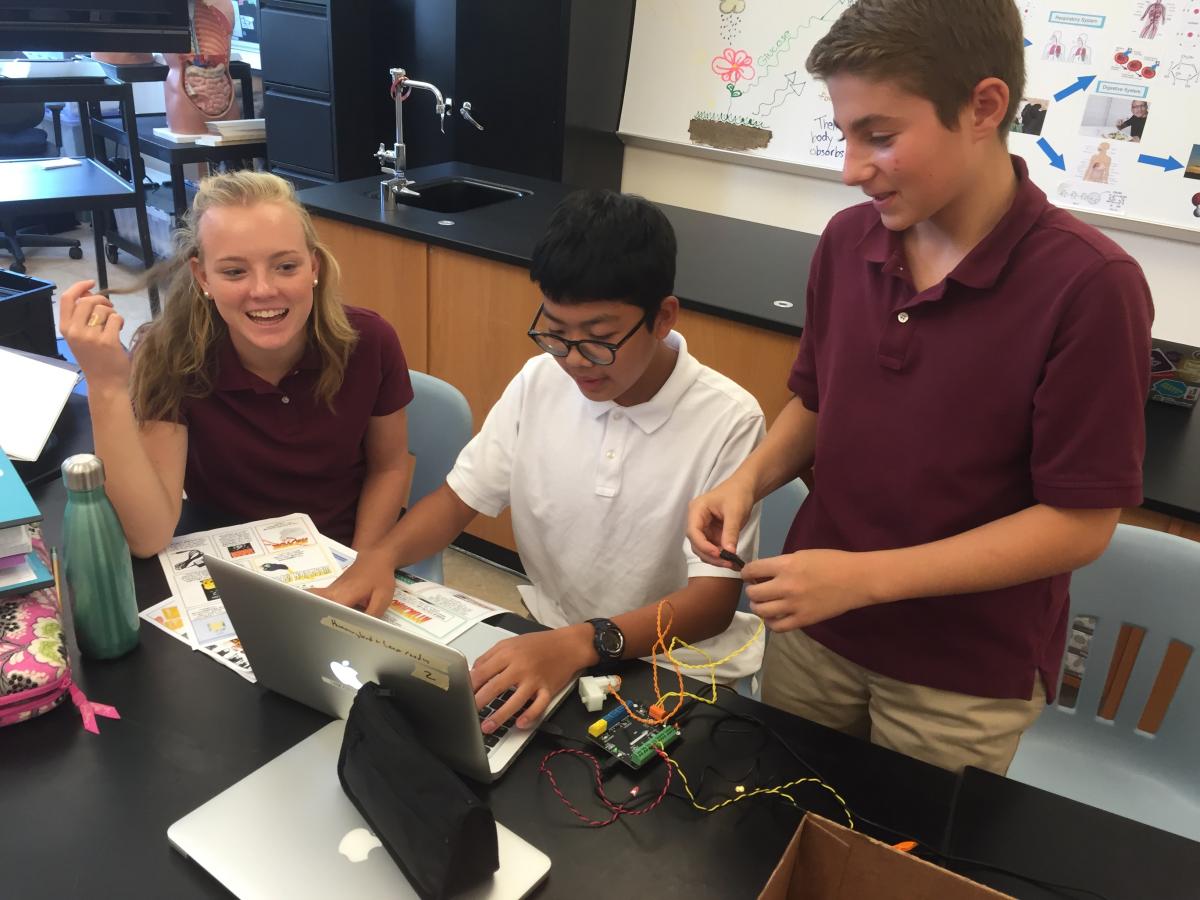
- Have students work in groups of 2-3.
- Our Printables page has a variety of documents for making teaching and learning with Hummingbird easier. Visit and explore resources like the My First Robot Design Notebook now.
Steps
This lesson is set up in a series of five stages. Students begin by familiarizing themselves with the Hummingbird kits and doing some independent research to learn about cerebral palsy. The class is then introduced to design thinking. Students work in groups to address a need of a student with cerebral palsy. They work together to form ideas, create a prototype, and present their final project to the class. Please note that while this project focuses specifically on the needs of individuals with disabilities, this assignment can easily be modified to address any real-world problem.
Day 1: “Hole in the Wall” Learning
Discuss the defining characteristics of a robot: it’s embodied (made of some sort of material), it has some sort of computing capability, and it runs instructions (a program). For this project, the goal is to inspire students to invent something that incorporates robotics to solve a real-world problem. The Hummingbird Robotics Kit is the backbone technology for this project, so first students need to get familiar with its capabilities.
Inspired by Sugata Mitra’s “Hole in the Wall” project, the idea is to get students working hands-on with the kit as soon as possible and let them figure out how to test the lights, servos, motors, and sensors. Students are provided with materials from the Birdbrain website.
HOMEWORK
Imagine you have been hired by your school to create technology that would help a person with cerebral palsy navigate school life here. Before you get started, you should learn a little about cerebral palsy:
- Khan Academy (from 0:00 to 3:45)
- Cerebral Palsy KidsHealth
- Cerebral Palsy Guide
- Cerebral Palsy Group
Come to class with answers to these questions:
- What is cerebral palsy?
- What are the causes of cerebral palsy?
- What are the types of cerebral palsy?
- What are the signs of having cerebral palsy?
- What are the mobility limitations involved in cerebral palsy?
Day 2: Design Thinking
Students should start Day 2 by completing the Empathy Assignment. After that, you should introduce them to the case study (Meet Tommy) and have them begin to define the problem that their prototype will address (Define the Need). You can find slides for Day 2 here.
EMPATHY ASSIGNMENT
Now that you know a little about cerebral palsy, how do you really know what kind of technology would help a student with it? You need to find a way to “walk” in that student’s shoes. For this assignment, you will focus on spastic cerebral palsy patients. This means that their muscles are always contracted resulting in rigid joints and limbs. For example, tight calf muscles result in pointed toes. This makes it hard for them to place their heels on the ground while walking.
Within your team, help one member simulate one of the following:
- Simulate tight quadriceps muscles by preventing bending of your knee (i.e. attach a broomstick or yardstick to your leg as a cast)
- Simulate tight calf muscles by preventing bending of your ankle (i.e. create a cast with cardboard, bandages, etc.)
Wear the device for at least ten minutes, trying out everyday tasks that one would typically do in school, eg. walk to class, get books from lockers, sit at desks, etc. Whoever is doing the simulation should “think out loud” about their experience so that you can make notes about your observations on the Empathy Assignment Handout. Ensure that your team member remains safe at all times!
Sit down with your team member before they remove the device and interview them about what they experienced. Use the Empathy Assignment Handout to answer these questions:
- What was the most challenging thing to do?
- How did you feel while you were doing this assignment?
- What most surprised you about doing this assignment?
MEET TOMMY
Tommy is an 12 year old boy with level III spastic diplegic cerebral palsy. He is able to walk using braces and crutches. For long distances, however, he prefers to use his wheelchair since walking is an extremely strenuous activity for him. At school, Tommy uses his crutches. However, the chair and desk legs often cause him to stumble in the classroom. Additionally, while he tries to keep his crutches out of the way in the classroom, they often fall or cause somebody else to trip, disrupting the class. Tommy loves acting and wants to audition for the school play. Tommy also loves basketball and wants to be able to play pick-up games with friends.
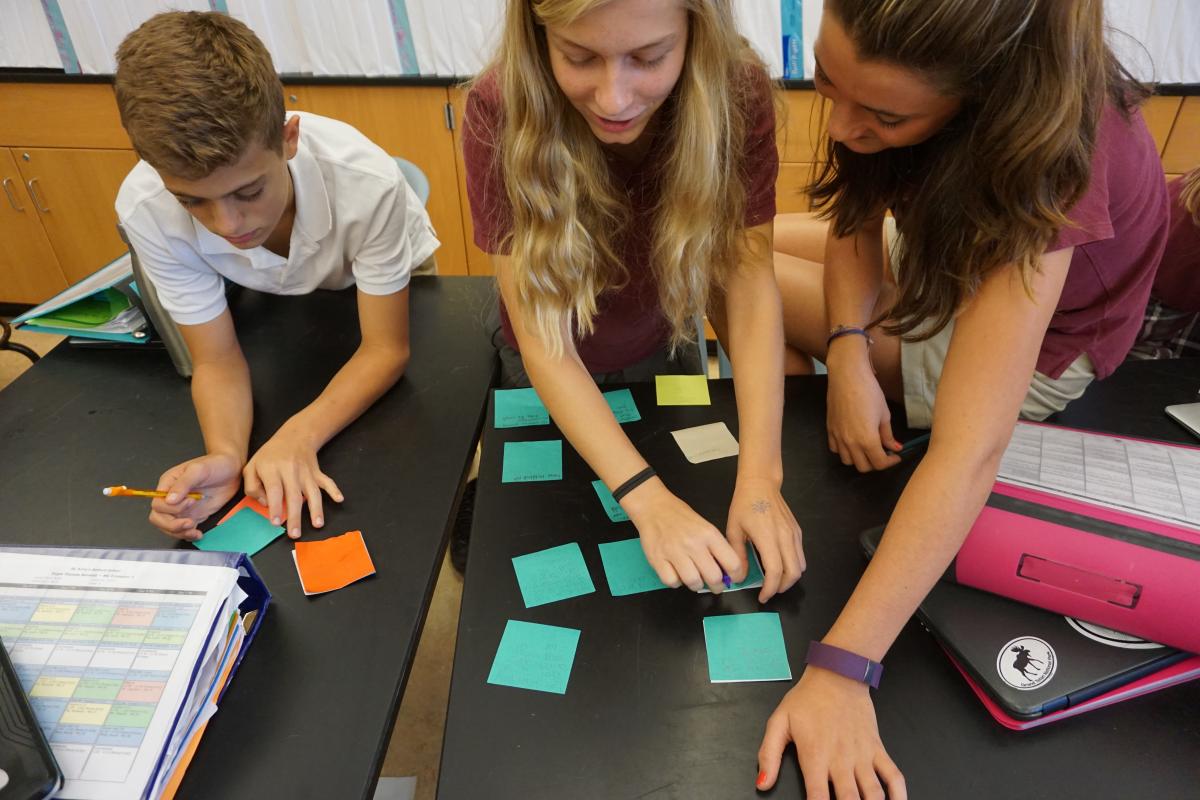
DEFINE THE NEED
Each person in your team should come up with at least 3 need statements based on the Empathy Assignment and Tommy’s needs. A need is a problem, not a solution. Vote on one need to take to the next design thinking stage.
Day 3: Ideate & Prototype
Day 3 is devoted to brainstorming and sketching designs. Use these slides to introduce students to these ideas. Then instruct students to begin work:
Brainstorm ideas for solutions. At this stage, no idea is too crazy. Each person in your team should come up with at least 5 ideas. After all ideas are on the table, work to narrow them down and eventually pick one solution to take to the prototype stage. Before you begin to prototype with physical materials, you need to draw out a design. The design should include the materials you need and describe how your solution will work.
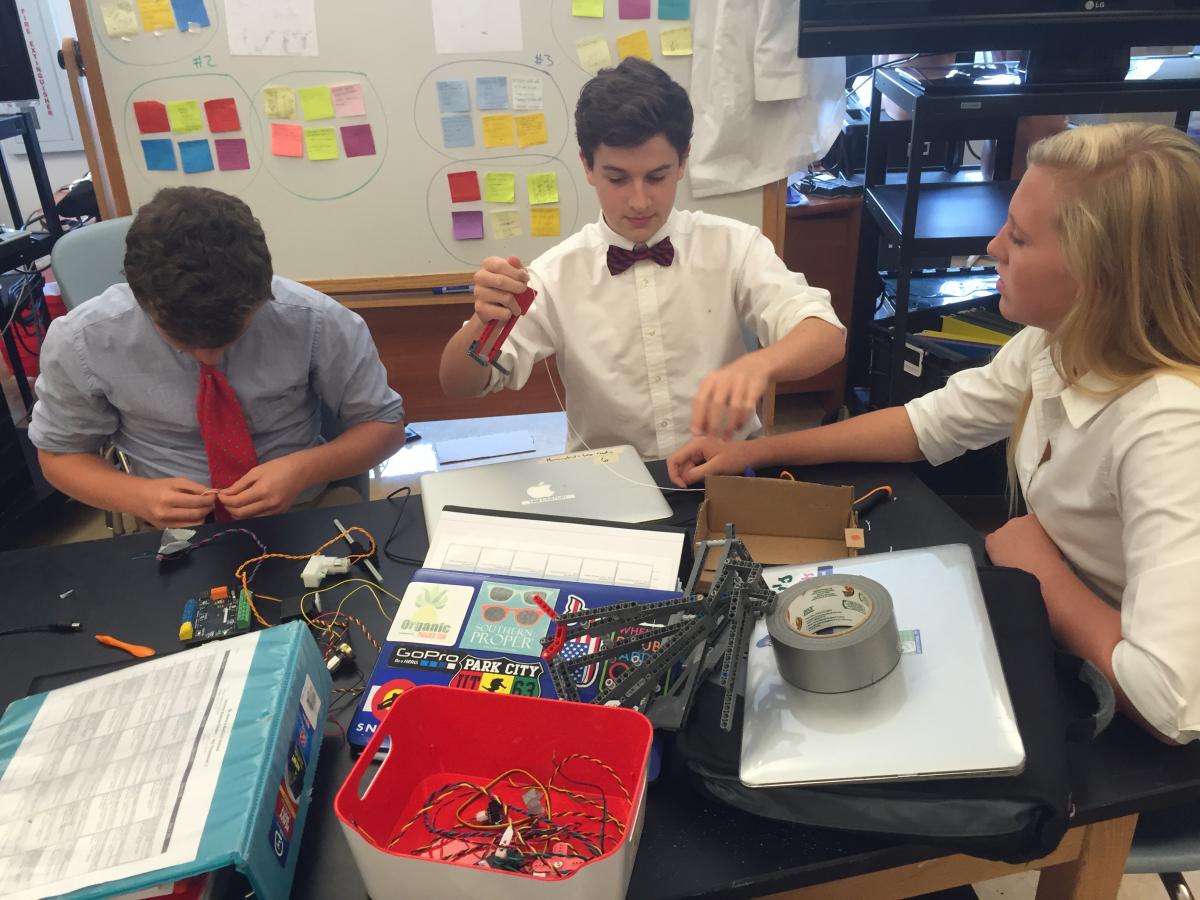
Days 4-5: Prototype
Once students have a design plan, they should start prototyping. Remind students that they don’t have a lot of time, so they should be sure to test out bits of their ideas sooner rather than later.
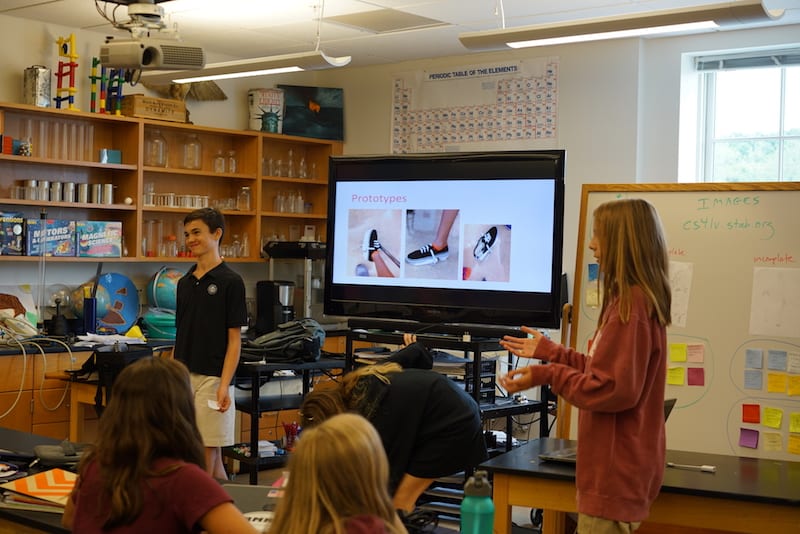
Days 6-7: Test & Present
These final days are the time to students to test their prototypes and get usability feedback on their design. Since students may not have access to users for their device, they can get feedback from friends, family, teachers and classmates.
The final step in this project is to have students present their work. They can use the Presentation Template to get started. Students do not need to have a working prototype to present, but they do need to be able to talk about their successes, failures, and what they would work on next if they had more time.
Standards Alignment
This project incorporates research, which addresses a middle school Common Core ELA standard in writing (anchor standard CCRA.W.7 for grades 6, 7, and 8). By collaborating and presenting their work, students also meet ELA standards in speaking and listening (CCRA.SL.1-CCRA.SL.6). Finally, this project is aligned with the middle school engineering standards in the Next Generation Science Standards (MS-ETS1-1, MS-ETS1-2, and MS-ETS1-3).
Photo Gallery